Think Vertical, Not Horizontal
The biggest mistake people make in small spaces? They think storage has to sprawl across the floor. It doesn't. Your walls are real estate you're probably wasting.
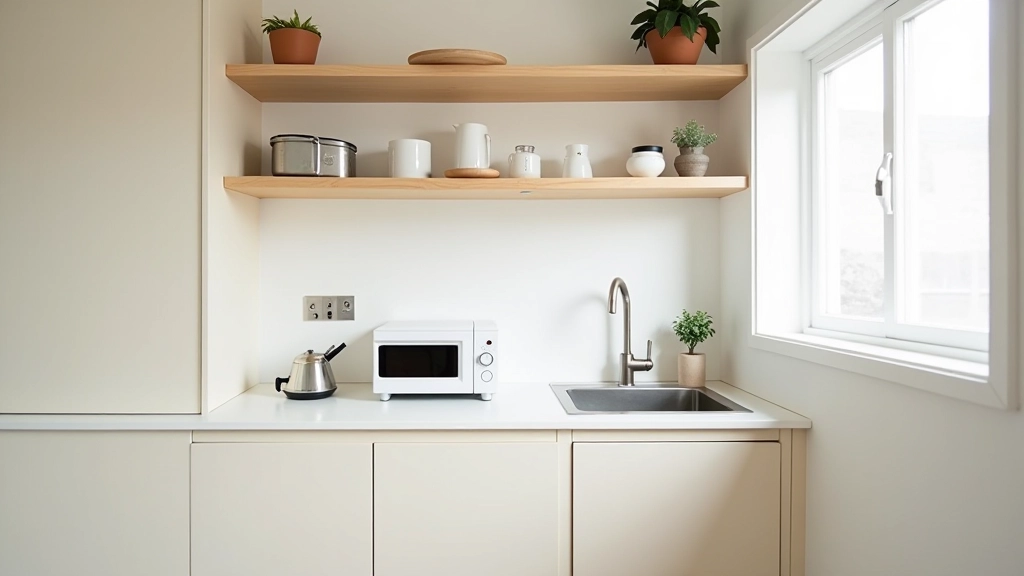
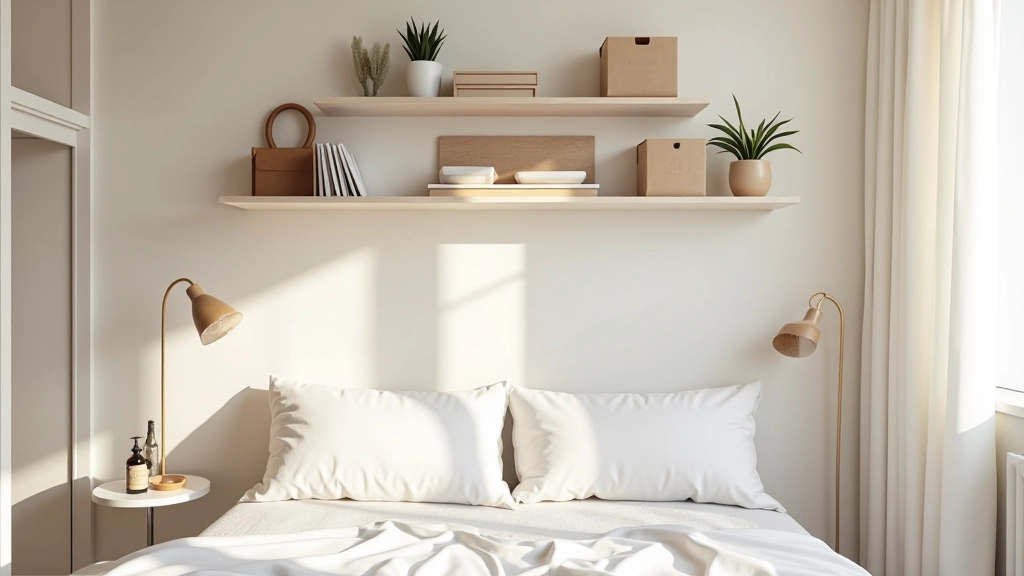
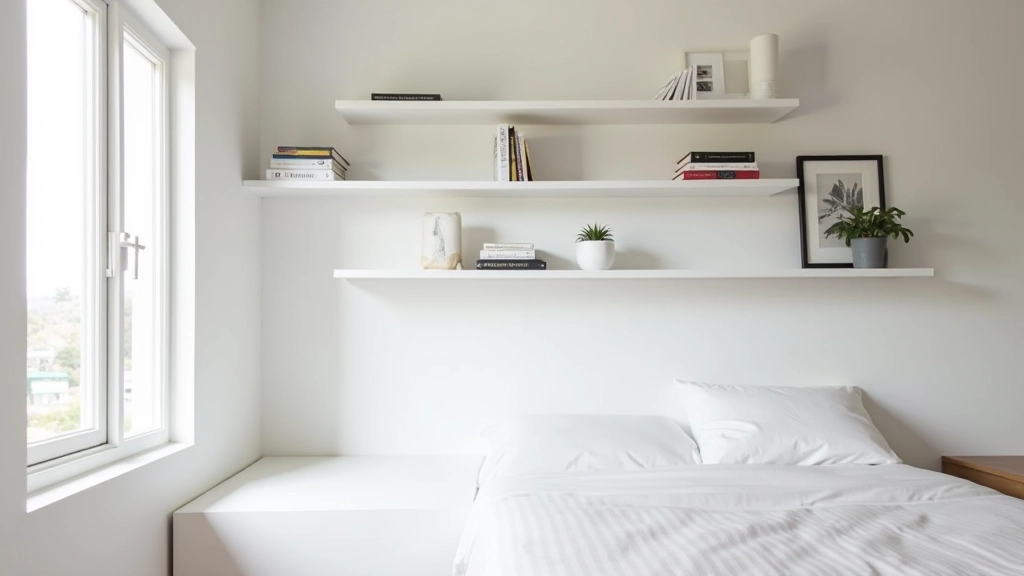
Wall-mounted shelving transforms a studio without eating floor space. Install shelves from about 12 inches above furniture up to the ceiling. That's easily 20-30% more storage than you'd get from a bulky dresser. Plus, it looks intentional and clean rather than cluttered.
Real numbers: A single 48-inch floating shelf system holds what used to need a 3-drawer dresser. That's about 12-15 square feet of floor space reclaimed.
The key is spacing. Don't pack shelves wall-to-wall at every height. Leave breathing room. Mix shelf heights, use open shelving for display, and reserve closed storage for items you don't need to see daily. It keeps things from feeling like a warehouse.
Hidden Storage: The Space You Forgot
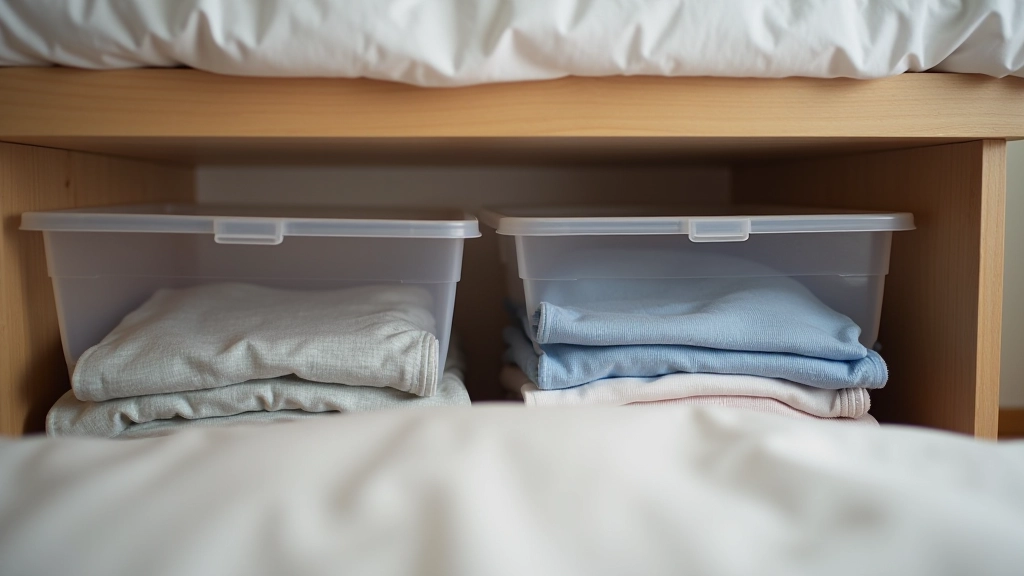
You've got more storage than you think. Under your bed? That's gold. A typical queen bed frame gives you about 20 cubic feet of usable space. Throw in some flat storage containers and suddenly you've got a whole second closet.
Here's what actually works: Use low-profile containers that slide easily. Clear plastic beats opaque because you'll actually remember what's in there. Label everything — sounds boring, but you won't dig through 5 boxes looking for your winter clothes.
- Under-bed storage for off-season clothes
- Bed risers (4-6 inches) increase clearance
- Vacuum-sealed bags for bulky items
- Drawer dividers for small items
The real move? Vertical storage inside closets. Install a second rod at half-height, add shelves above, and suddenly your closet holds twice as much. We're talking about adding 10-15 more hanging inches and 8-10 shelf spaces without making the closet bigger.
Corner Space and Dead Zones
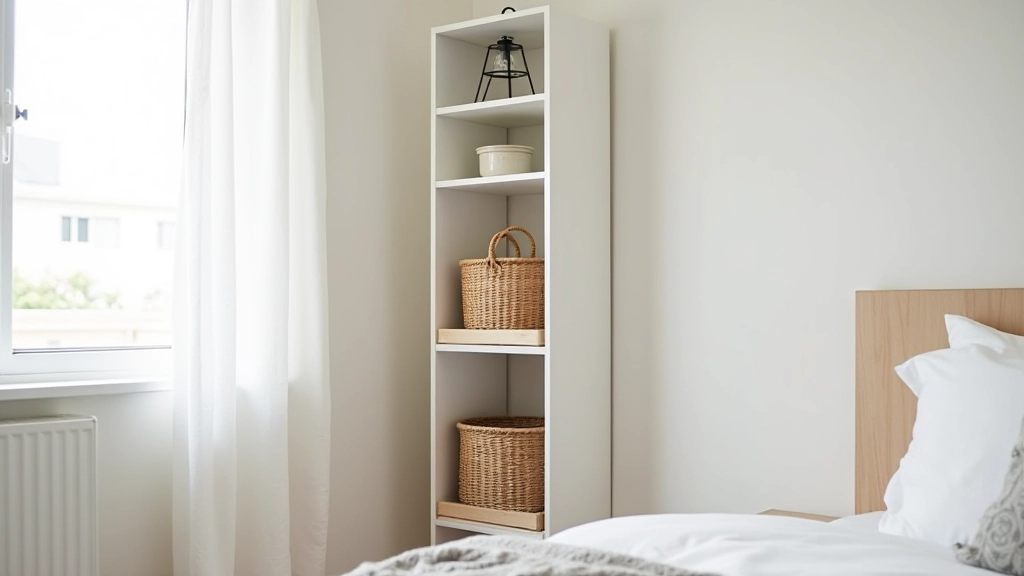
Every studio has corners nobody uses. They're awkward, kind of useless, and perfect for storage. A tall narrow shelf in a corner takes up maybe 8 inches of depth but holds way more than you'd expect.
Same with the wall space above your door. Hang a shallow cabinet there — 6-8 inches deep is plenty. You won't notice it's there after a week, but you'll definitely notice the extra space for linens, seasonal stuff, or supplies.
Identify dead zones
Look for corners, gaps beside furniture, and wall space above doorways.
Measure carefully
Height, width, depth. Know your space before you buy anything.
Choose minimal styling
White, natural wood, or matte finishes blend in. Keep storage from dominating visually.
Furniture That Does Double Duty
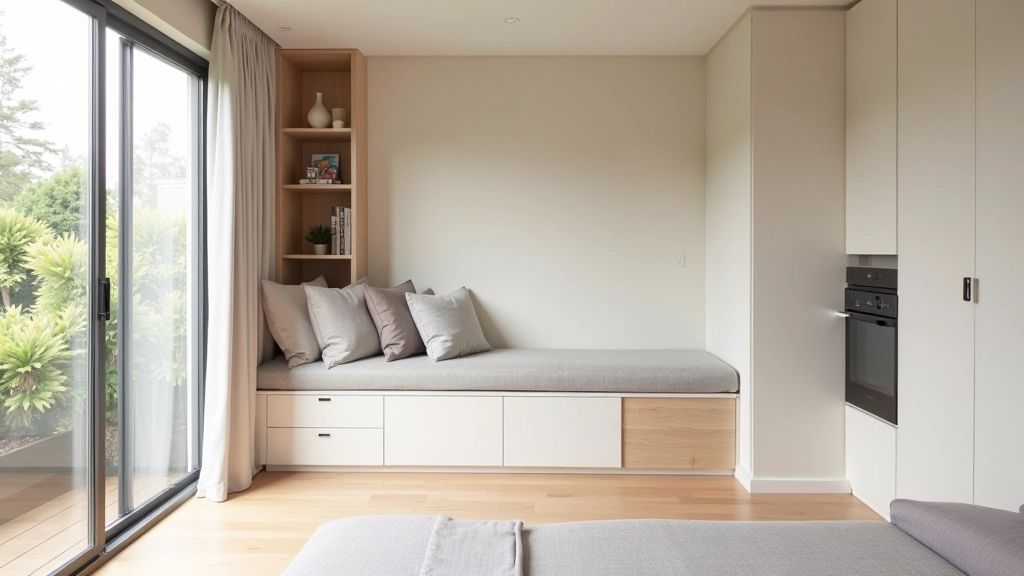
Don't just buy storage. Buy furniture that stores. A bench at the foot of your bed? Pick one with hidden storage inside. Ottoman with a lid. Coffee table with shelves underneath. Storage headboard. These pieces do the work without taking up extra footprint.
You're not sacrificing style here. Multi-functional furniture looks cleaner than having a dresser plus a nightstand plus a shelf unit. It's actually fewer visual elements, which makes your space feel less crowded even though you've added storage.
"The studio doesn't feel smaller when storage is built into furniture. It feels more intentional, like someone actually designed the space."
Budget-friendly option? Baskets under a simple console table. Put it behind your sofa or along a wall. Looks like styling, functions as storage. Three or four large baskets hold about as much as a small dresser.
The Organization System That Actually Sticks
Here's where most people fail. They install beautiful storage, then shove everything in randomly. Six months later it's chaos again.
You need a system. Not complicated — just consistent. Categories. One home for each category. That's it.
For clothes: one shelf for everyday, one for work, one for going out. For kitchen: one drawer for cooking tools, one for utensils, one for small appliances. For books and decor: group by size or color, it doesn't matter as long as it's intentional.
Why this works in a studio
Everything's visible. When everything has a spot and the system is clear, you'll naturally maintain it. Grab your keys from the key basket. Put them back in the key basket. Done. No clutter builds up because there's literally nowhere for it to hide.
Keep things you use daily at eye level or within arm's reach. Seasonal or occasional items? Those go up high or down low. This isn't complicated, but it saves you from digging through boxes every time you need something.
Storage Doesn't Have to Feel Like Storage
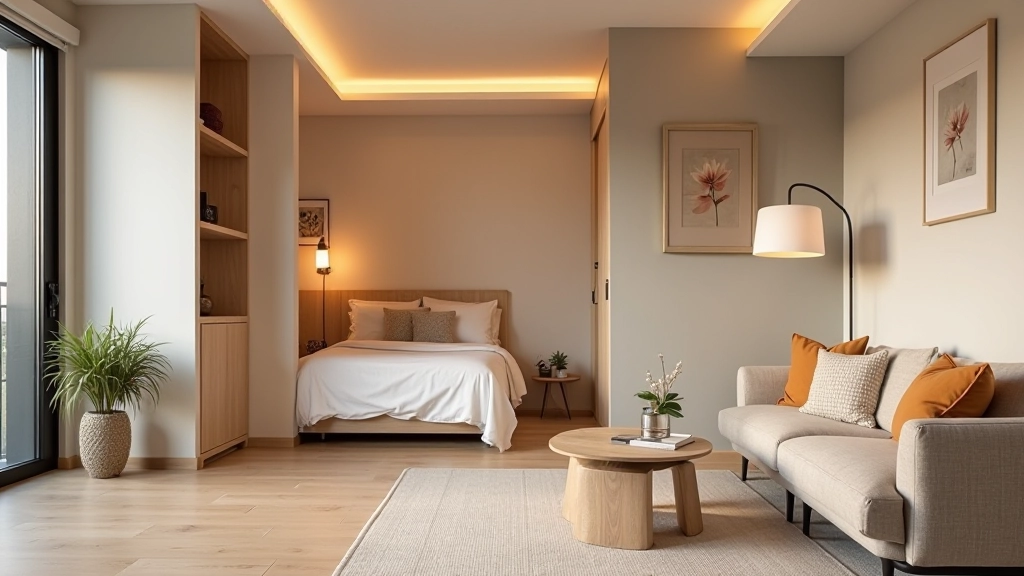
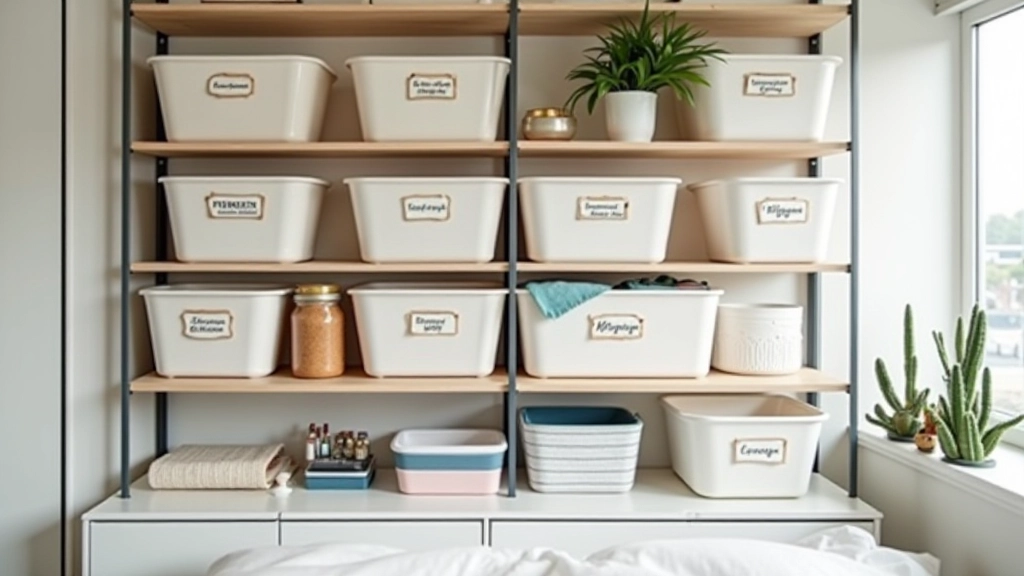
A well-organized studio doesn't look cluttered because storage isn't obvious. Shelves blend into walls. Multi-functional furniture looks intentional. Hidden storage stays hidden. Everything has a place, so nothing piles up on surfaces.
Start with one zone — maybe your closet or bedroom area. Get that working smoothly, then expand. You'll build momentum. Plus, you'll figure out what actually works for how you live, instead of copying someone else's system.
The goal isn't a perfectly staged apartment. It's a space that functions, breathes, and doesn't stress you out every time you open a cabinet. That's the real win in a studio.
Disclaimer
This article is for informational purposes and represents general guidance on storage organization for studio apartments. Individual results may vary based on specific layouts, building codes, and personal preferences. Always measure your space carefully before purchasing storage solutions. For permanent installations like shelving or built-ins, consult with a professional to ensure proper installation and safety. This content is educational and should not be considered professional interior design advice. Consider consulting with a professional organizer or interior designer for personalized solutions tailored to your specific studio layout and needs.